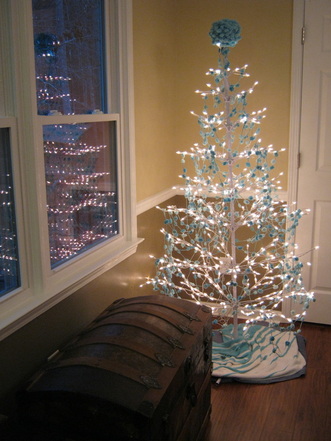
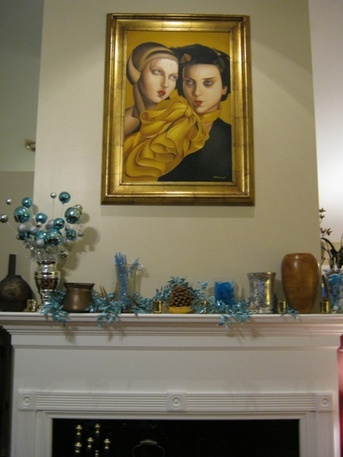
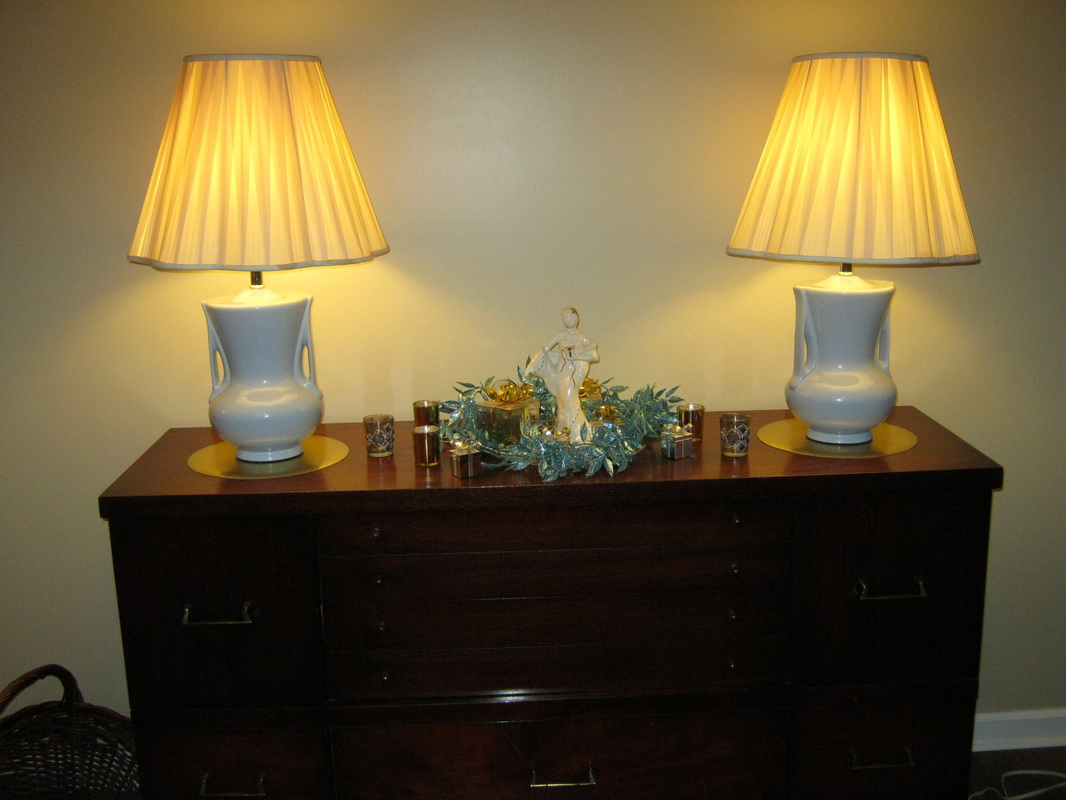
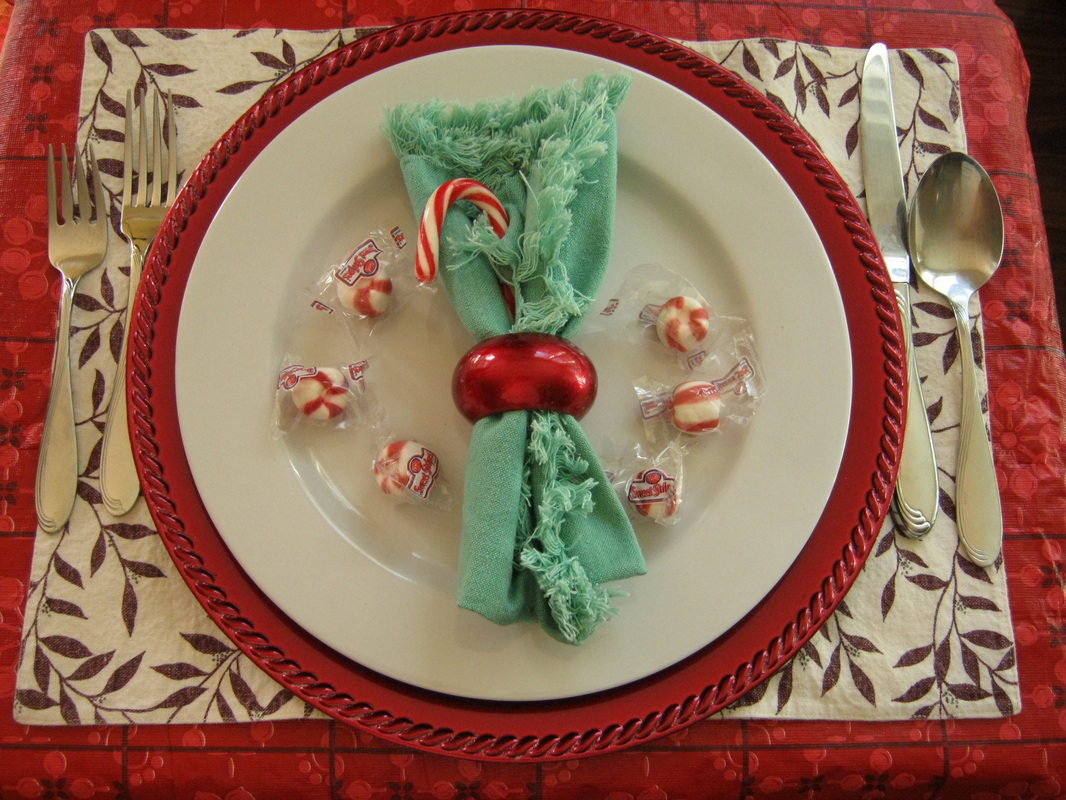
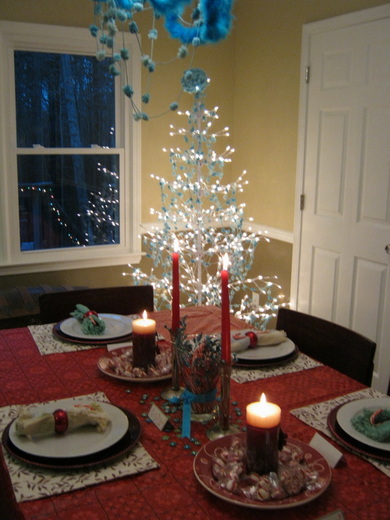
 (c) Liz Logan Like many Americans, we've been remodeling and decorating our home, intending on completing it before family comes to visit in December. We started in earnest the second week in November, so wanted to set an ambitious pace. Tomorrow we will be hanging the art on the newly painted walls and setting up our "media corner." Last night DH told me that will symbolize the end of our first round, except for the curtains, which I am picking up today. We decluttered all the furniture, took down the wall between the kitchen and the dining room, painted, put in new floors, refurnished, and have been decorating for the holidays. My family arrived the night before last, and it was so gratifying to get their reactions. It made it all worth it! I documented the whole process and learned a lot. Next Fall I plan to run a series of posts about how to stay sane and organized while tearing up home base. Here's a hint: it all starts with the closets. I'll also make the information available in an eBook, complete with printables and spreadsheet templates. In the meantime, I wanted to share some pictures of the final outcome. These were inspired by this year's blogs and magazine tips--the creativity out there gave me permission to go outside my own box. Not everyone in my family is thrilled with this, so we are having two trees--the traditional red and green one, as well as my design fantasy white twig tree with aqua ornamentation. I used two colors of "pom-pom" yarn for the garland. Next will come turquoise feathers and red hearts. I love the tension between hot red and cool blue that makes both colors seem to glow. I also loved the glittery aqua decor that I found in some of the big box stores. It gave me a chance to emphasize the blue hues I wanted to include in my color scheme. This was especially important, since DH nixed the French Blue curtains and pillows I had originally envisioned. It all started with some retro lamps I found at the Goodwill. I loved their shape, color, and especially the whimsy of the scalloped shades. The $8.98 price tag wasn't bad, either! I was also inspired to "shop" my china cabinet, so to speak, including paper goods. The current style is to "mix and match," so I had a lot of fun with color. I've come up with 12 settings, and hopefully I'll get a chance to post some of those. The first one has a candy stripe theme. It's really easy to do. The place settings were very simple, alternating red and white layers. I chose unadorned china to go with the more playful energy of the candy. And my family has enjoyed stealing them from the plates. It is definitely one that brings out the inner kids! The centerpiece started with a wide mouth vase, that I stuck the rest of the candy canes in. I put four flat sprigs of glittery decor around the inside edge, between the canes and the glass. I tied an aqua ribbon around the vase. The two side plates have a red and white candle in the center, surrounded by peppermint candies. To bring in the aqua and green, I sprinkled glass filler stones as well as green glitter flowers from my collection of scrapbooking embellishments. I'm really looking forward to enjoying my "stuff" for the next couple of weeks, instead of just pulling out the good dishes for one or two nights. I encourage you to check out the latest styles and go experiment with what you already have. You might be surprised at what you've got. Happy creating!
1 Comment
|
Details
about Liz Logan
I'm a professional organizer in Atlanta, fighting the good fight on my own home front and sharing the good, the bad, and the ugly. what clients say
"[The Office Makeover] has made such a difference!" -RA Archives
August 2012
Categories
All
|

 RSS Feed
